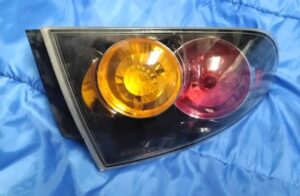
If you have a broken taillight, finding a replacement might seem like a simple task until you actually start looking. With different trim levels, body styles, and aftermarket options floating around, it is easy to end up with a part that simply does not fit. I have been running a used auto salvage yard for over 25 years. In that time, I have pulled, inspected, and matched thousands of taillights. Based on my experience, I want to share exactly how you can ensure the taillight you are buying is a perfect match for your vehicle.
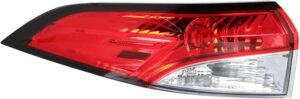
In the salvage yard business, verifying compatibility is something we do all day long. My process relies on a mix of modern technology, dedicated databases, and plain old visual inspection.
When a part comes off a vehicle, knowing exactly what donor car it came from gives me the best baseline. From there, I use a few reliable methods to cross-reference compatibility.
AI technology to help bridge gaps and suggest interchanges.
Industry databases like Car-Part.com to locate parts interchanges and see exactly what fits.
Google Images to visually compare the light I have with the exact model it is supposed to fit.
While technology is incredibly helpful, you have to be careful. There is a massive difference between a hatchback and a sedan, even if they are the exact same make and model. Just the other day, I was doing an eBay listing for a taillight, and the AI cross-referencing tool got it completely wrong. It mixed up the body styles, and I had to go back and manually repair the listing.
This is why you can never rely solely on a computer generated guess. You have to verify the physical details yourself before you decide to buy a replacement taillight.
When you are buying a used replacement part, condition matters. Cracks, chips, and damage to the lens or housing will definitely lower the value and can lead to water leaks down the road. Before I even photograph a taillight for a listing, I make sure to wash it. Having a clean light ensures that I can take accurate images so the buyer knows exactly what they are getting.
When you are shopping, look closely at the photos. Avoid anything with heavy damage, but do not worry too much about the hardware. In my 25 years, I have not had many problems with wiring harnesses or plugs failing to be a direct fit, provided the interchange match is correct.
You might be tempted to go online and buy a brand new, dirt cheap aftermarket replacement instead of a used original equipment manufacturer part. I highly recommend sticking with used OEM auto parts.
The issue with cheap aftermarket replacements is the quality of the materials. Often, the plastic is poor quality, causing the lights to deteriorate, fade, or crack much faster than original factory parts. A clean, used OEM taillight from a salvage yard is built to last and will match the quality of the other light currently on your vehicle.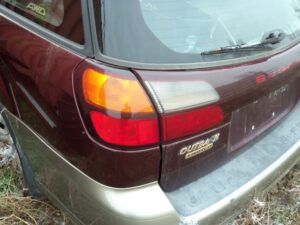
One of the biggest mistakes beginners make is buying the right part for the wrong side of the car. There is a golden rule in the auto parts industry to keep this straight.
Always determine the placement of the light by sitting in the driver's seat.
From the driver's seat, the passenger side is always the right side.
From the driver's seat, the driver side is always the left side.
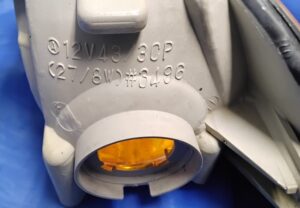
If you have your broken taillight removed, look at the back of the plastic housing. Not every single part has an ID number stamped into it, but many manufacturers are really good about putting part numbers directly on the plastic. If you can find that number, you can match it directly to the replacement part to guarantee compatibility.
Once you have done the work to find the right part, you might be wondering about the installation. Most of the time, replacing a taillight is a very easy job to do yourself. You do not usually need to pay a mechanic to do this for you. You always have the option of going to YouTube to find step-by-step how-to videos for your exact make and model. Those videos will show you where every hidden bolt and clip is located.
If there is one major takeaway I can leave you with, it is to simply take your time and do your homework when searching for salvage yard parts.
There are a lot of small variances that might make it so a taillight is not a direct replacement, even if the overall shape looks identical. You have to pay attention to the patterns in the lenses and the color placement of the bulbs. For example, look at a Mazda pickup versus a Ford Ranger. While they share a lot of DNA, the Mazda taillights have a different color placement for the reverse and amber turn signals compared to the Ranger. Because of that, they are not direct replacements for each other.
Check the body style, verify the left or right side from the driver's seat, match the part numbers if you can, and always double-check the visual details. If you follow these steps, you will get the right taillight the first time.